- Wine Color/Type
- Top Occasions
- Unique Wines
- Surprise Me!
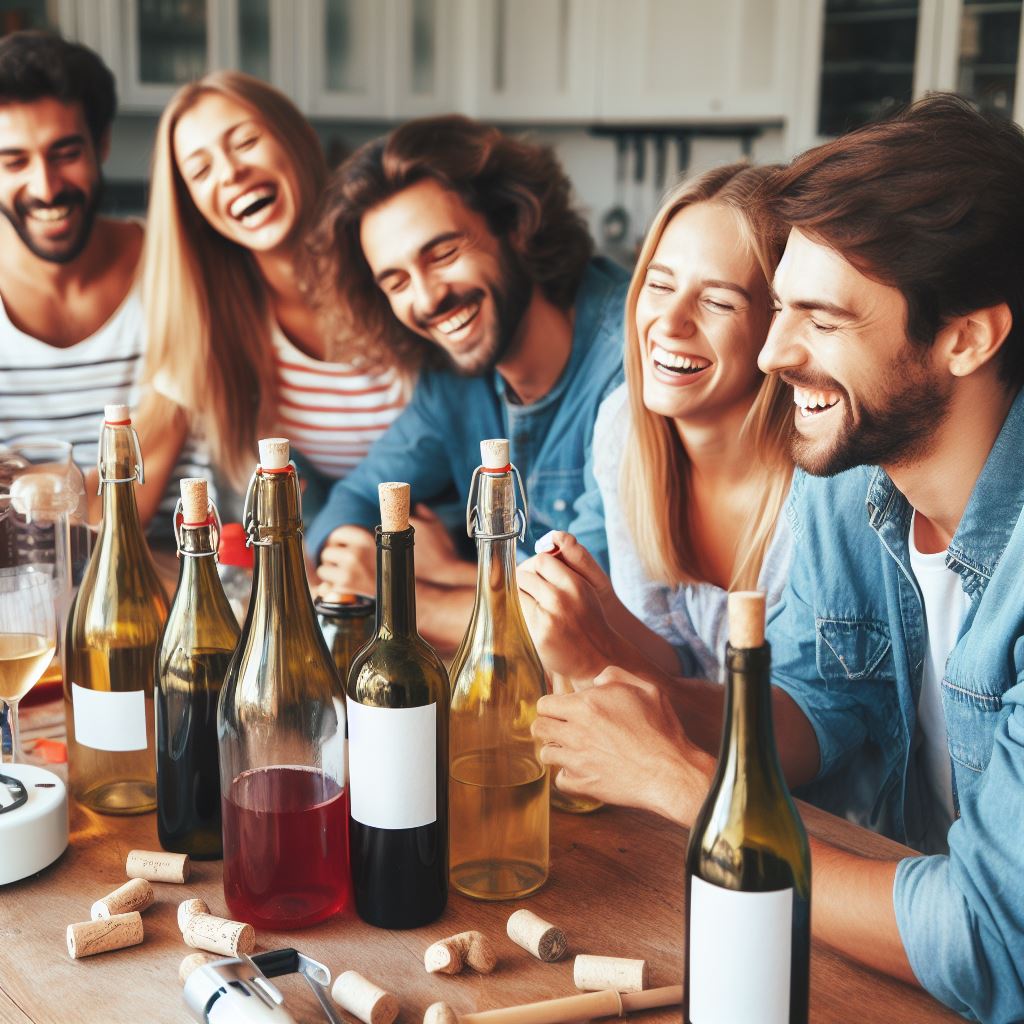
Understanding the Art of Wine Bottling: A Step-by-Step Guide
Master the art of bottling your own wine with this comprehensive guide
Introduction
Are you a wine enthusiast? Have you ever wondered about the process that goes into bottling this divine elixir? If so, this blog post is written just for you. Bottling wine can be an intricate process, but with a little practice and patience, you can master it. Whether you're a home winemaker or just curious about the process, this step-by-step guide will show you how to bottle wine like a pro.
Why Bottle Your Own Wine?
Bottling your own wine can be a rewarding process. First, it adds a personal touch to your wine collection. Second, it allows you to have full control over the entire process, from the choice of grapes to the final taste. Lastly, it can be a fun and engaging hobby that can be shared with friends and family.
Preparation: Getting the Right Equipment
Before you start the bottling process, you'll need to gather the right equipment. You'll need wine bottles, corks or screw caps, a corker or capper, a bottle washer, a bottle filler, and a bottle drying tree. It's crucial to ensure that all your equipment is clean and sanitized to prevent any form of contamination that could spoil your wine.
Step 1: Cleaning and Sanitizing
The first step in bottling wine is to clean and sanitize your bottles and caps or corks. This can be done using a commercial sanitizing solution or by boiling them. After sanitizing, let your bottles, corks or caps dry thoroughly - you don't want any moisture to dilute your wine. To prevent oxidation, add a light dose of sulphur dioxide (SO2) to the wine.
Step 2: Filling the Bottles
Once your bottles are clean, dry, and ready to go, it's time to fill them up. Using your bottle filler, pour the wine into each bottle, leaving about half an inch of space at the top. This space is known as 'headspace' and is essential to allow for expansion and contraction of the wine due to temperature changes.
Step 3: Sealing the Bottles
After filling the bottles, the next step is to seal them. If you're using corks, place a cork into your corker and press it into the bottle. If you're using screw caps, simply screw the cap onto the bottle. Make sure the seal is tight to prevent any air from getting in and spoiling your wine.
Step 4: Storing the Bottles
Once the bottles are filled and sealed, they're ready to be stored. Wine bottles should be stored on their sides in a cool, dark place. This prevents the cork from drying out and allows the wine to age properly. The ideal temperature for storing wine is between 50 and 60 degrees Fahrenheit.
Bottling wine can be a fun process, allowing you to add a personal touch to your wine collection and giving you full control over the entire process. With this step-by-step guide, you can start bottling your own wine at home. Remember, practice makes perfect. So, don't be discouraged if your first few attempts aren't perfect. Keep trying, and soon you'll be bottling wine like a pro.
Latest articles